

Indoors in the Heat of August (northern hemisphere at least)
/
Hey everyone. We’re into August as I write this and other than two days in the last three weeks where the daily temperature was 24 degrees Celsius or less, it’s been a humid oven since late June.
I respect that some people love the heat and humidity but I am not one of them. Moreover what with the haze and way the light hits the planet at this time of the year, I look at August as the worst month for outdoor photography other than at sunrise or sunset. Other than those times, the light, to be polite, sucks.
Photograph Inside
I know some people hate photographing outside in the winter, but I like it. I prefer spring or fall, but prefer winter to August as the light is better. As photography always involves light and how you manage it, coming inside to the air conditioning and having time and the ability to completely control the light is a good thing.
Thoughts On Making Images
The one thing that I find missing when observing images and talking to students is the lack of attention to the light. What’s the direction? What’s the colour? What’s the quality can usually be answered after some thought but are rarely articulated quickly. Some would call this instinctive shooting, but there is nothing evolutionary that would build an instinct for considering these aspects of light, so instinct is at best, misaligned.
Making images indoors is very easy, takes little space and should be very inexpensive. If you already own a flash, that’s great but even if you fear or hate flash, you probably have access to a desk lamp. A quick trip to the dollar store will get you four pieces of white foamcore, and if you cook or bake, you probably have a roll of white parchment paper in a drawer. If not, hit your local grocery store. Oh and you’ll need some tape. White gaffer tape is best but plain old package tape works fine.
Tape up three sheets of foamcore to make a three sided wall. Set them on the fourth piece. You now have a white shooting box. Place your desklamp somewhere such that it lights the inside of the box. The white foamcore acts as reflectors so you only need ONE light.
Now put something inside the box. Think simple. A grapefruit has nice texture. Or a banana. Or a flower in a glass from the garden. Or whatever three dimensional thing that you want to use as an exercise subject for your project. When embarking on this as a learning or practice exercise, I am less concerned with what the subject is and more on how it will change as I change the light.
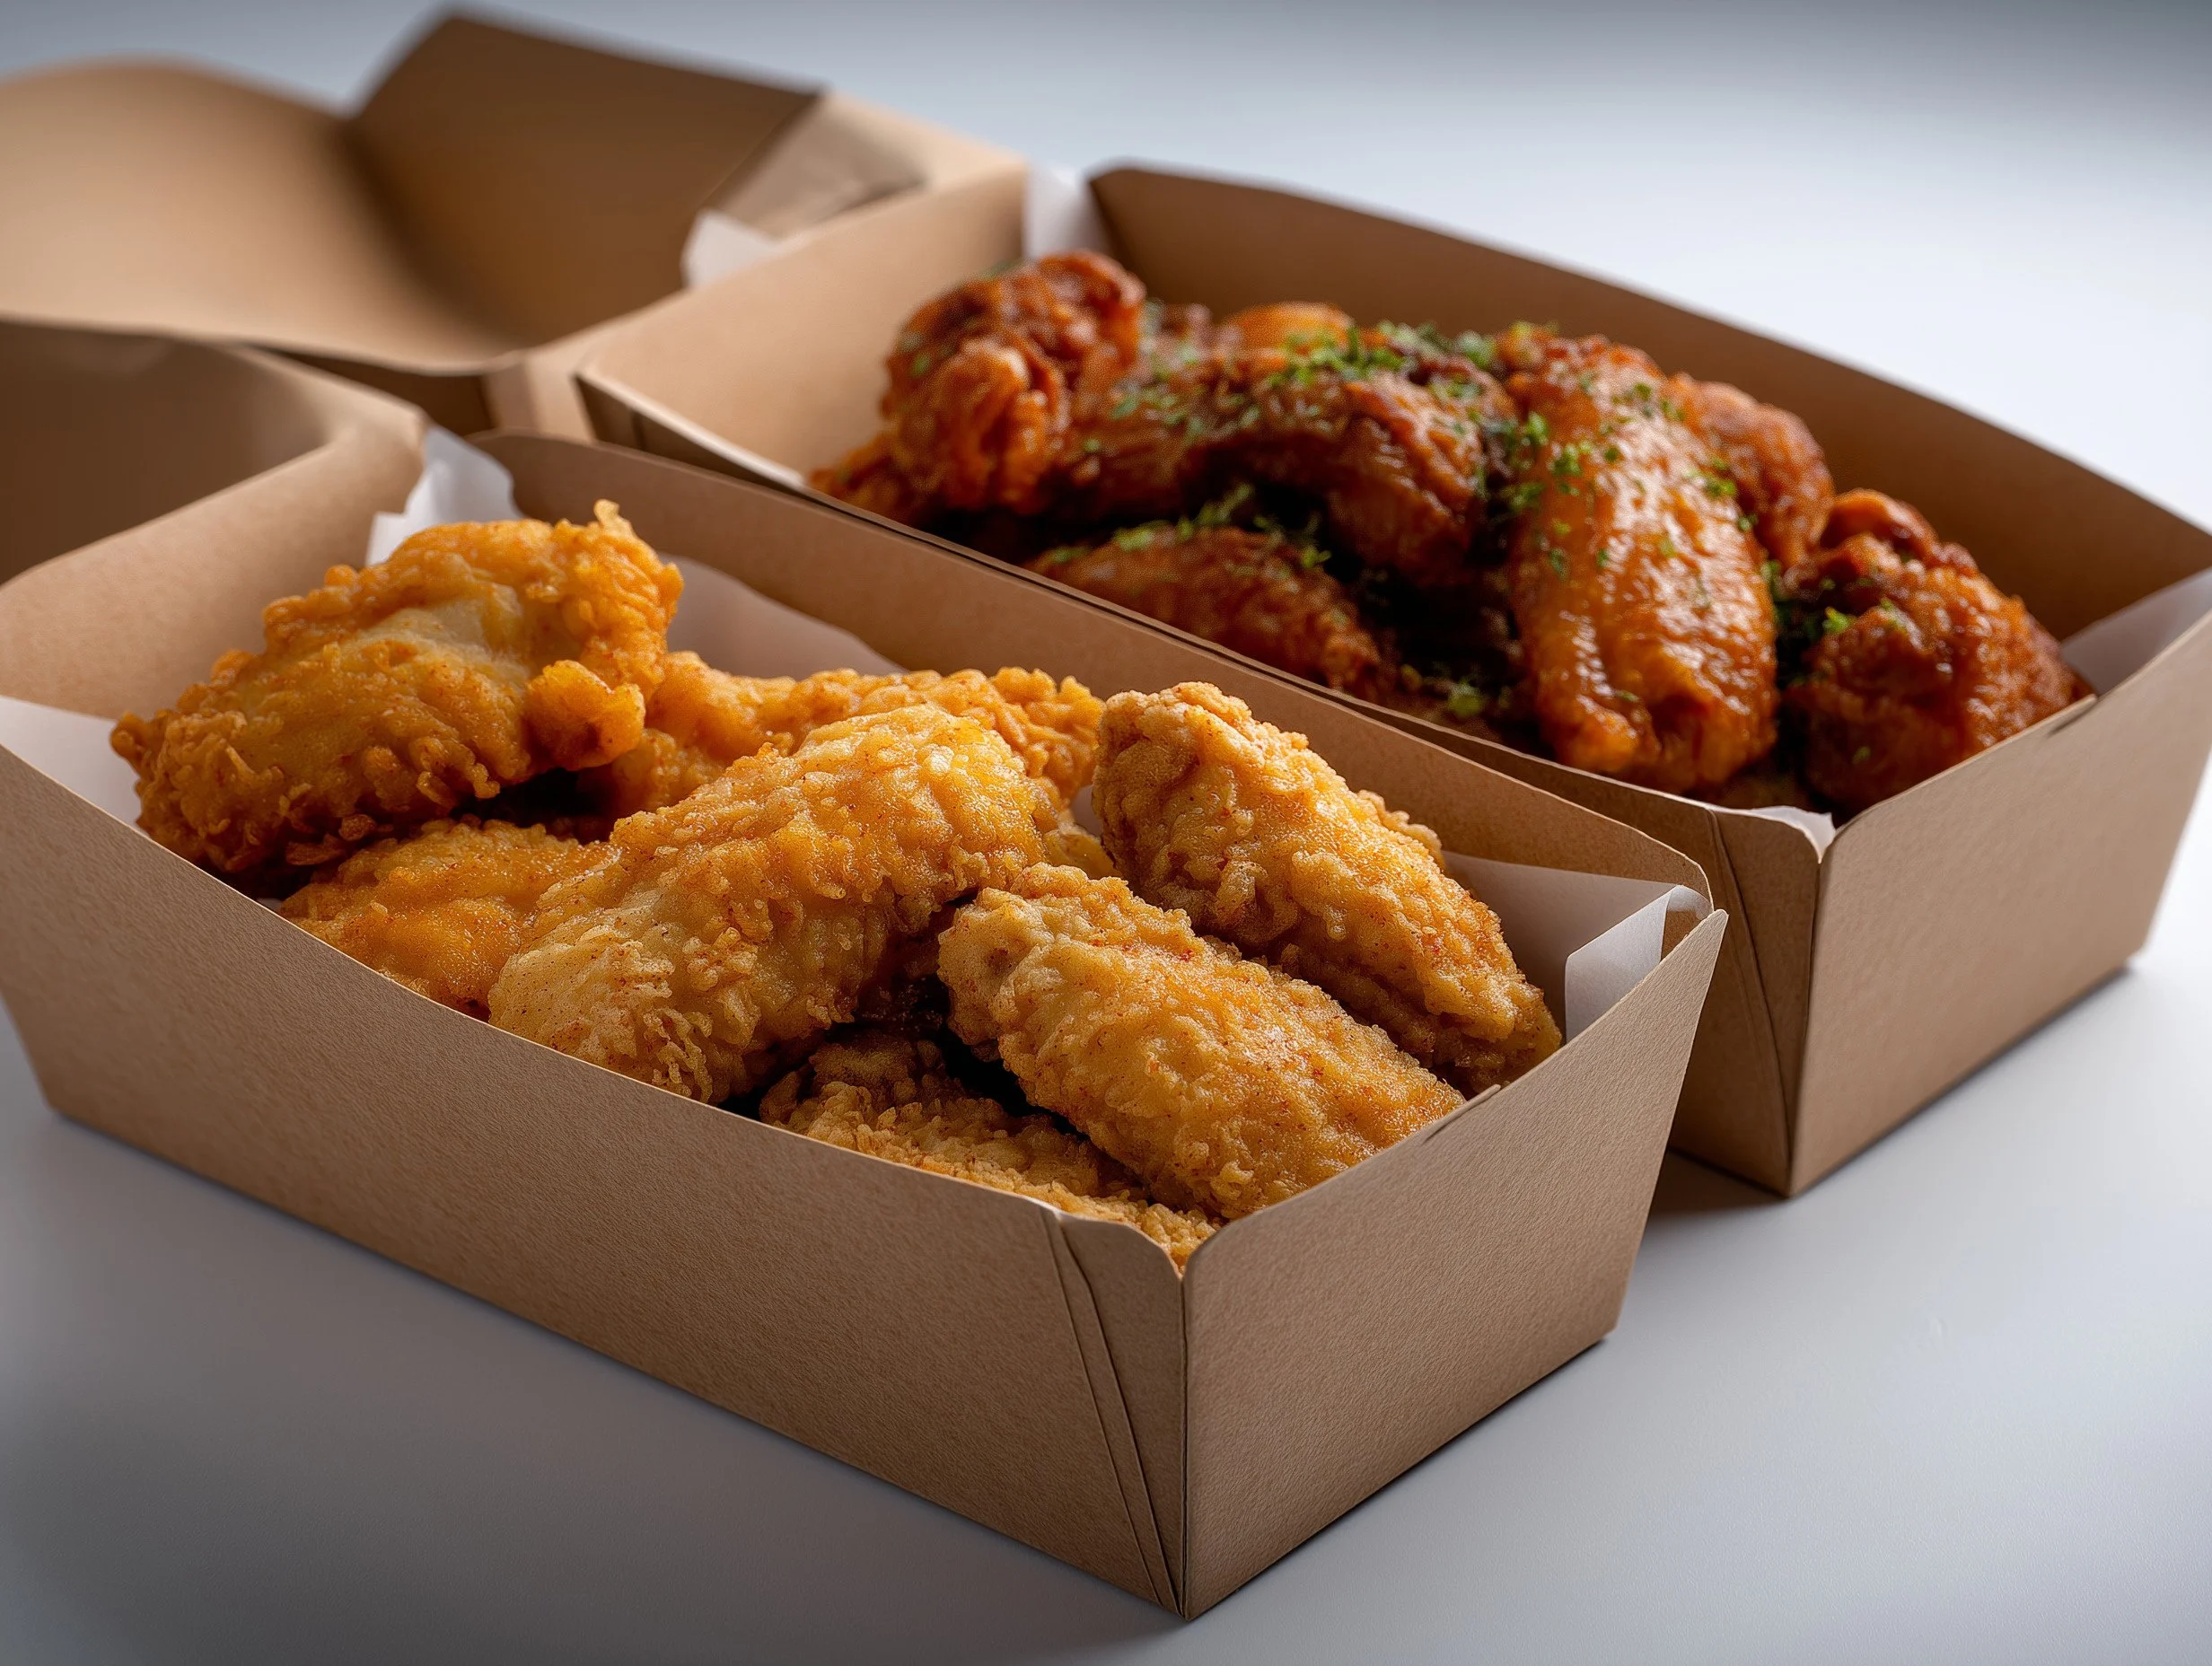
I used licensed images of food because it’s usually readily available and often brings interesting textures to your subject without a lot of work on your part.
Exercise steps
Choose an appropriate lens for the size of the subject and use depth of field preview or image simulation to get just enough depth of field for the subject but keep the box corners blurred.
Make photographs of the subject using the table lamp, moving it from place to place so the direction of light striking the subject changes with each image. Go left to right, up to down, really varying the position of the light. Don’t worry about white balance, set the camera to AWB and move on. Move the light closer. Move it farther away, and for each image SEE how the light changes the representation of the subject. I recommend making notes of the light position for each image to enhance your learning.
Once you’ve done that, loosely tape a piece of white parchment paper over the front of the desk lamp. This acts to spread the light out, what we call diffusion. Contrary to a lot of error on the Internet, it does not soften the light. Only changing the distance between the light and the subject can soften it.
Repeat all the movements of light placement that you did in the first sequence, again noting the placement of the light for each image.
Once that is done, hopefully there is an overhead light in the room where you work, or there is daylight coming through a window that is not hitting the subject directly. Take some parchment paper and make a single layer lid for your box. This creates an overcast day, without a colour cast.
Now make images but as the light is fixed, now move the subject around and make images to capture different impacts of the fixed light on your subject. This simple exercise teaches the criticality of photographer movement to find the best photographic position. Many photographers find a place to stand or sit and stick there like stuck in a gravity well. Don’t be that image maker.
Development
Presuming that you made good exposures in your shooting, bring your images into whatever you use for editing purposes. Edit the images for your pleasure from a crop and adjustment perspective but DO NOTHING to the white balance.
Now pick a few and make copies of them. With a copy, use only the blue/yellow white balance slider to alter the image to be under warm and cool light. How does the colour of the light change the feel or the story of the image? Make as many copies and different blue/yellow settings as you like but note what you did as part of your learning.
Now with fresh copies of the same or different images, instead of using the blue/yellow slider, try manipulating only the tint slider, moving towards magenta and towards green to get a very rough sense of what a change in tint does to the image, again noting what you did for each image.
Wrapping Up
I expect that you will not like every potential outcome. That’s fine, keep the ones that you kept at the beginning and put them in a collection or folder that you can easily find again for reference. Any photographer working on growth has a several of these things not for printing or sharing necessarily but as a record of time in virtual school lab work. We learn by the doing, not by the seeing or the hearing.
Please become a member on Patreon to help support this channel. A big thanks to all the existing Patreon members! Send in comments or questions, I read and respond to all. If you shop with B&H Photo Video, please use the link on the main page as it pays me a small commission and does not cost you anything to do so. Thanks again and we will see each other again soon.


